With summer coming to a close in the next couple of weeks, it's time to finally share our best finished photos of the back yard at the Murray Bungalow!
But first, let's head down memory lane and look at a few "before" shots of the back yard.
EXISTING
THE PLAN
Our primary goals in the back yard were to clean things up visually, create a designated zone for outdoor entertaining, and accentuate the property's green features (pretty ornamental grasses, mature trees, and expansive turf). The back yard, after all, with its wealth of possibilities, truly sets the Murray Bungalow apart from so many other properties in the neighborhood. We wanted to capitalize the property's generous lot size, while leaving plenty of room for imagination :).
The sketch below depicts the major design changes. For further background on the landscape and hardscape design for this project, head to this post right here.
Most of the items set out in the design plan were ultimately implemented. Two exceptions are (1) we scrapped the idea of creating a plant bed on the far east end of the yard in favor extended lawn space, and (2) we installed a non-permanent 6' x 10' storage shed on the extended parking pad.
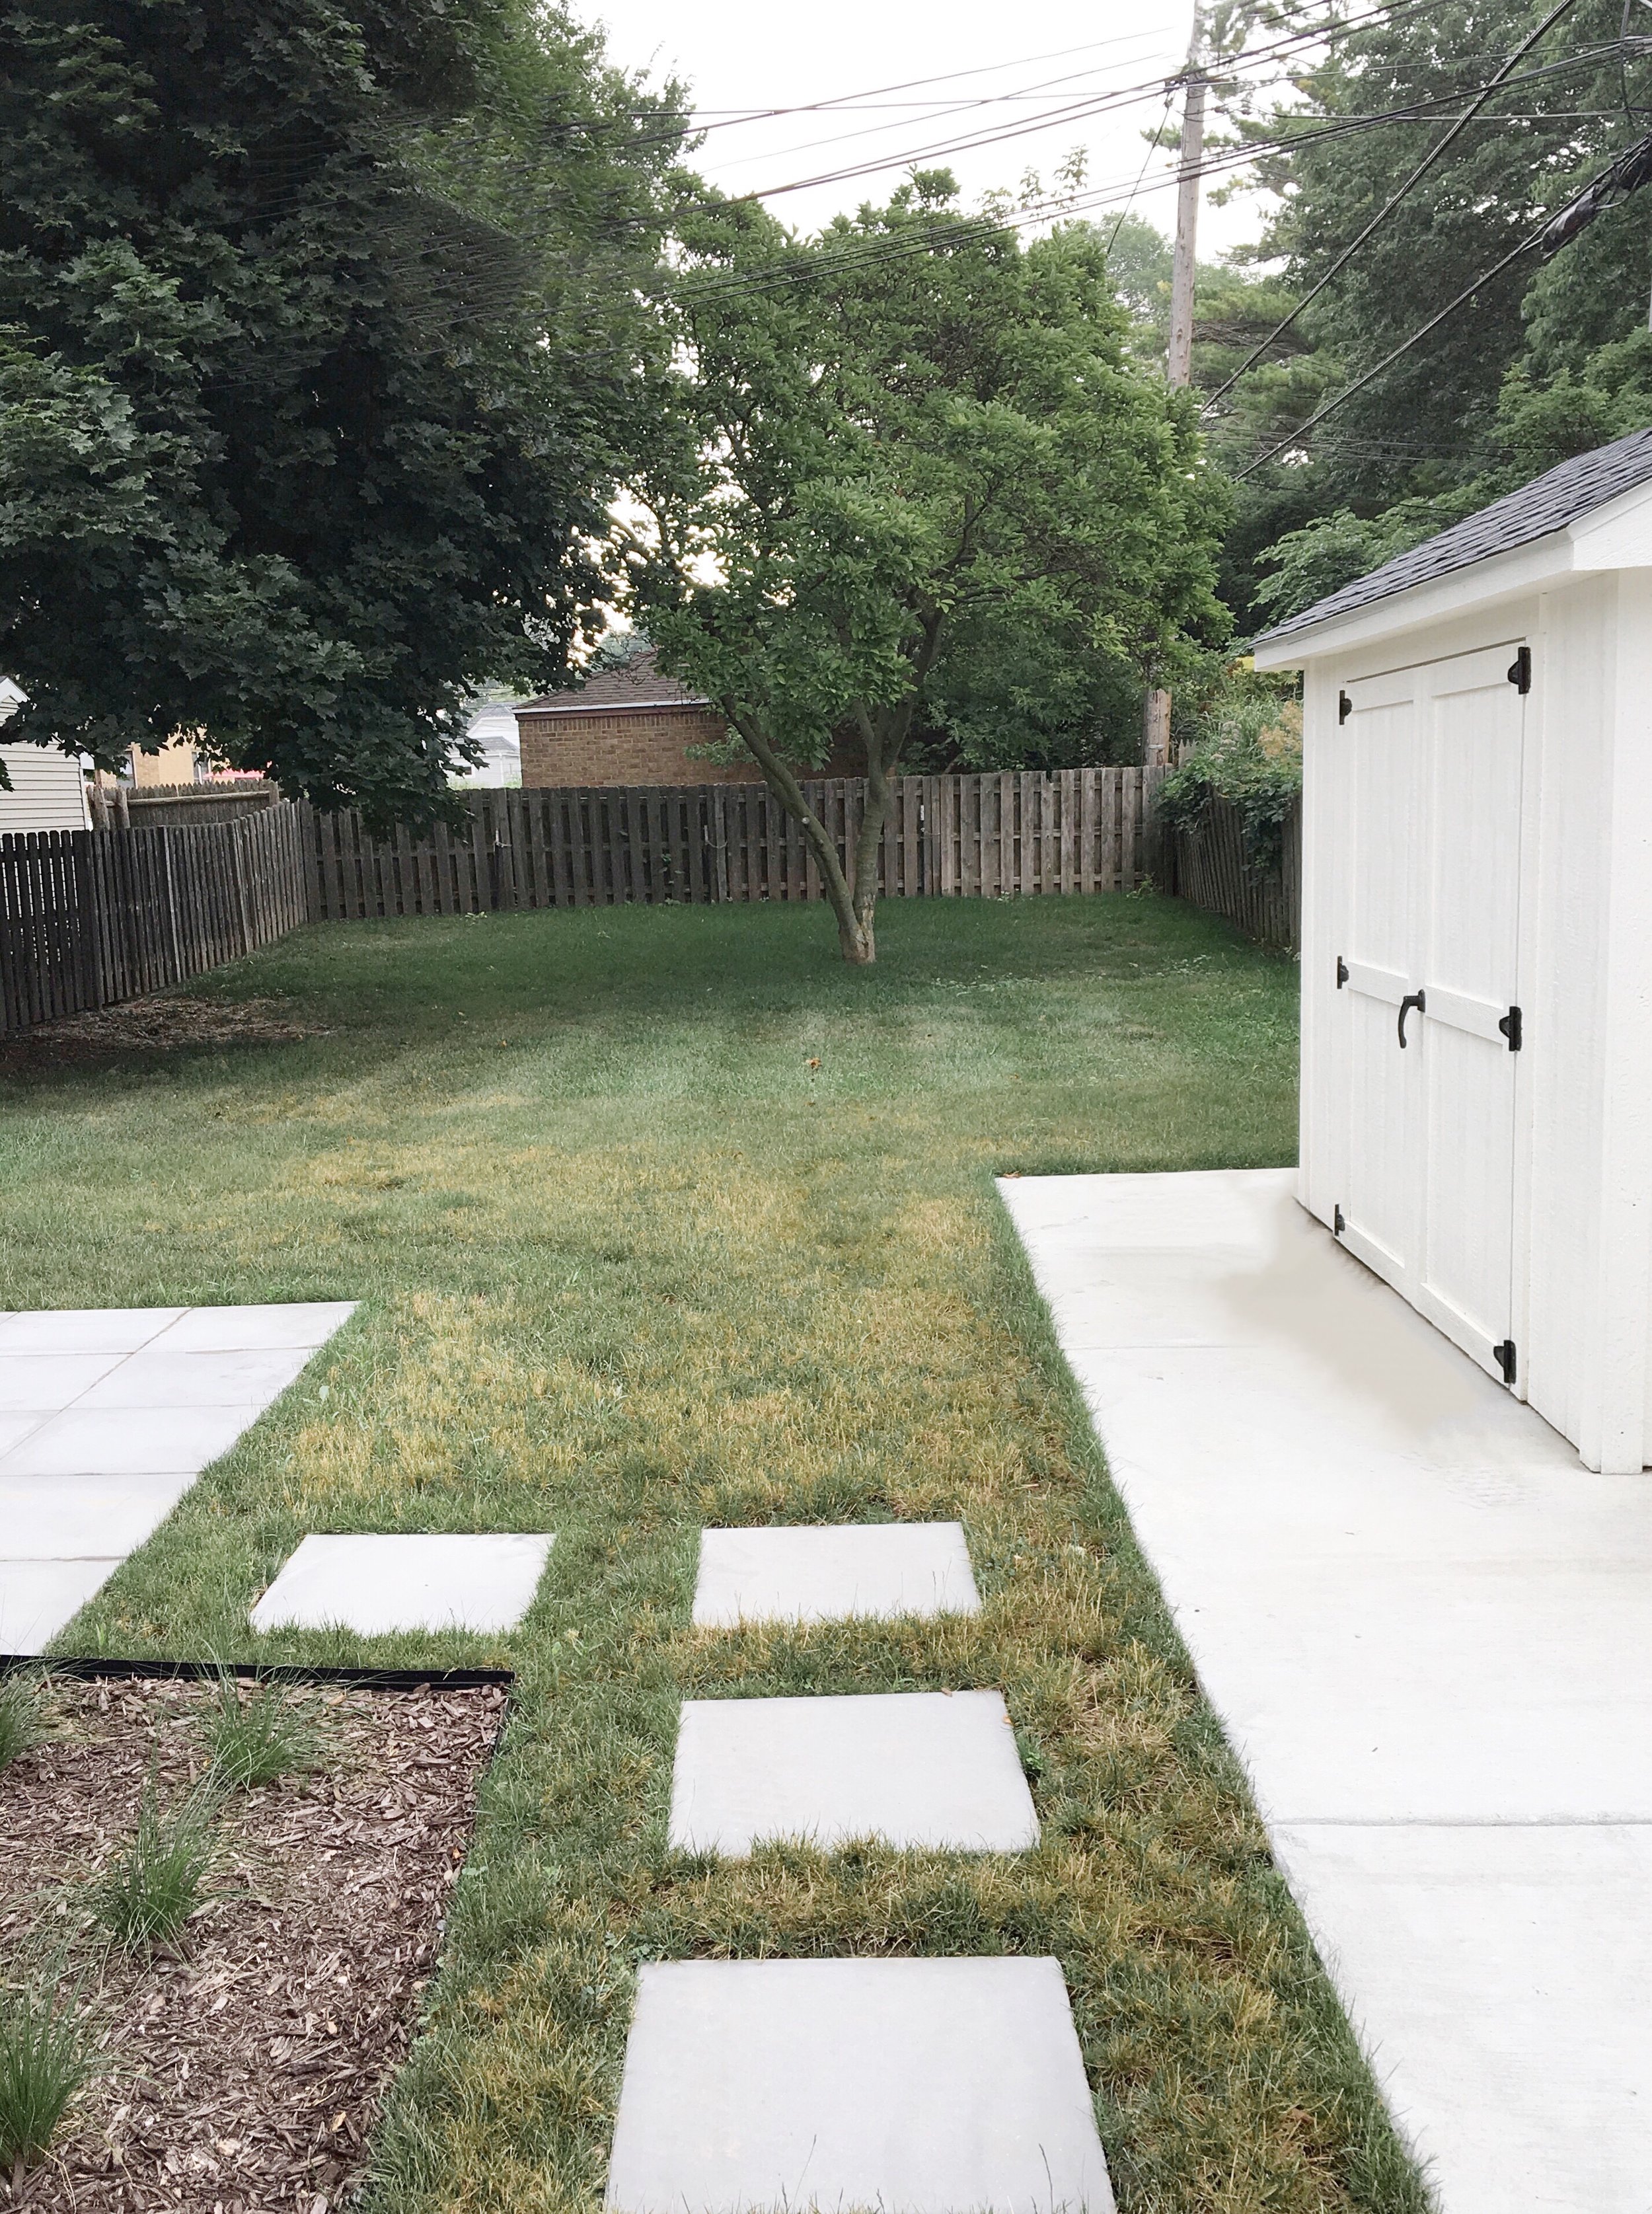
The shed is a custom design from Tuff Shed, and can be relocated in the future should the owners decide to use the space differently (i.e. build a garage). For now, the addition of the shed brings so much functional value to the property -- it provides a secure resting place for bikes, outdoor gear, garden tools, etc. Aesthetically, it helps to better define outdoor living area centered around the new patio. And it cleverly blocks sight lines to the utility pole and waste receptacles. Somehow we neglected to capture a head-on shot of the shed, but you'll be able to catch a few glimpses in the photos below.
REVEAL
Please note: when we snapped these photos mid-summer, the newly seeded grass still had not reached it's full healthy state. With TLC going forward (a more regular watering schedule being the key!), the lawn should spruce up quickly. Still, the transformation at 80%/"work-in-progress" level feels pretty remarkable.
Even with some work left to do on the grass, this outdoor transformation was easily one of our favorite parts of the Murray Bungalow project. What began as a weedy and unruly space is now clean & green & filled with potential.
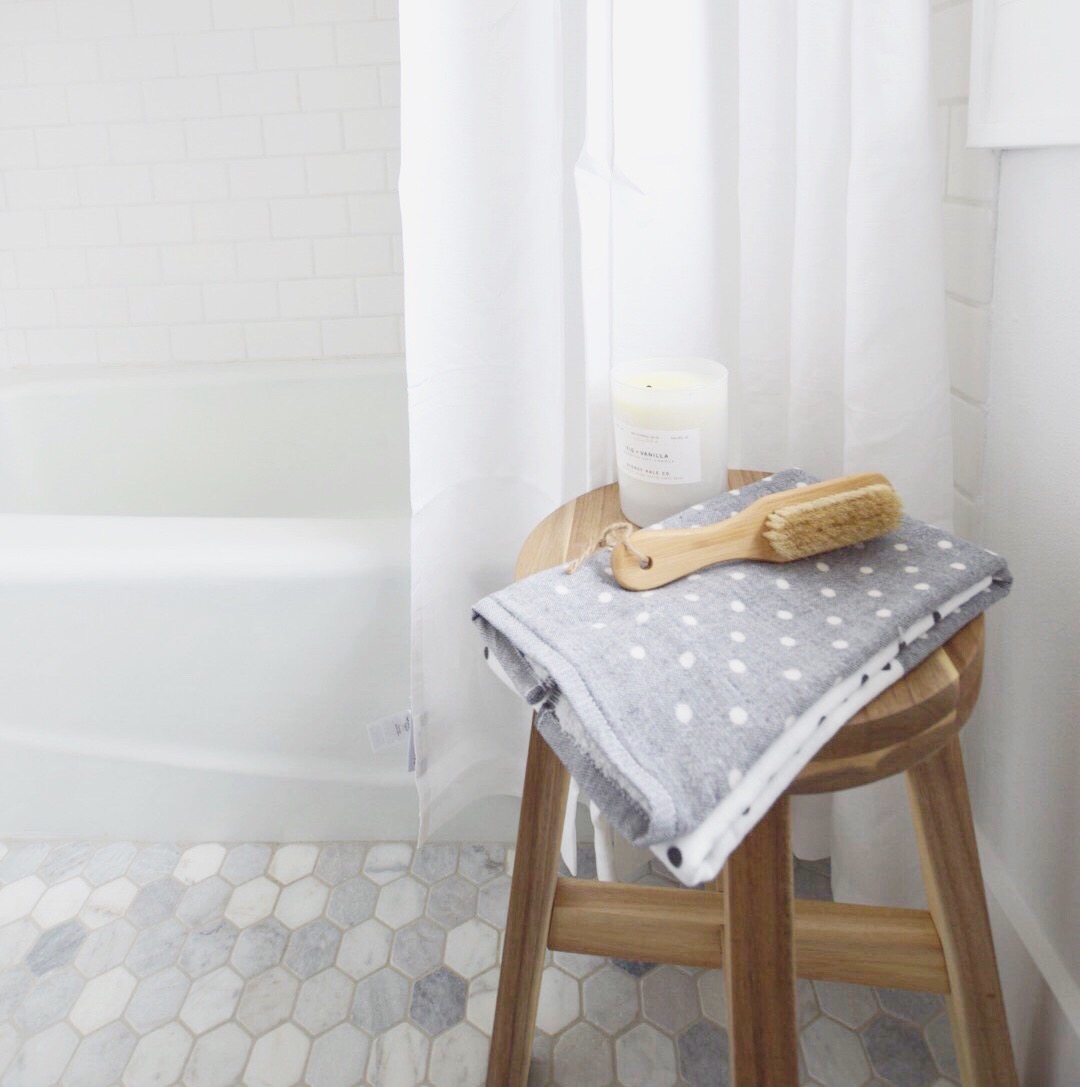
Today, we're showing off the upper level bathroom in its complete, finished state. Take a peek at the "before" pics and learn more about the upgrades that we made to the space, and why, in the post right here.
As the bathroom in closest proximity to the three bedrooms upstairs, it's safe to say that this room does a lot of heavy lifting in the home, and for that reason, deserved some love & attention. With the layout fixed, our challenge was to pack as much function as possible into the space. A vanity with lots of storage and a tall, recessed medicine cabinet / mirror help to maximize efficiency. At the same time, we wanted the room to feel clean and spacious and a little bit special -- a calming space in which to retreat and rejuvenate. The east-facing window plays a key role in delivering a light & airy aesthetic. Soft & calm material selections -- including tumbled cararra tile floors & matte white porcelain subway tile -- contrast beautifully with the gorgeous sparkle of Kohler polished nickel plumbing fixtures and Cedar & Moss glass globe sconce. We just love the finished combination!
In the photos below, see how it all came together (along with a floor plan to orient you on the room's location). At the end of the post, you'll also find a complete source list for your referece. Enjoy!
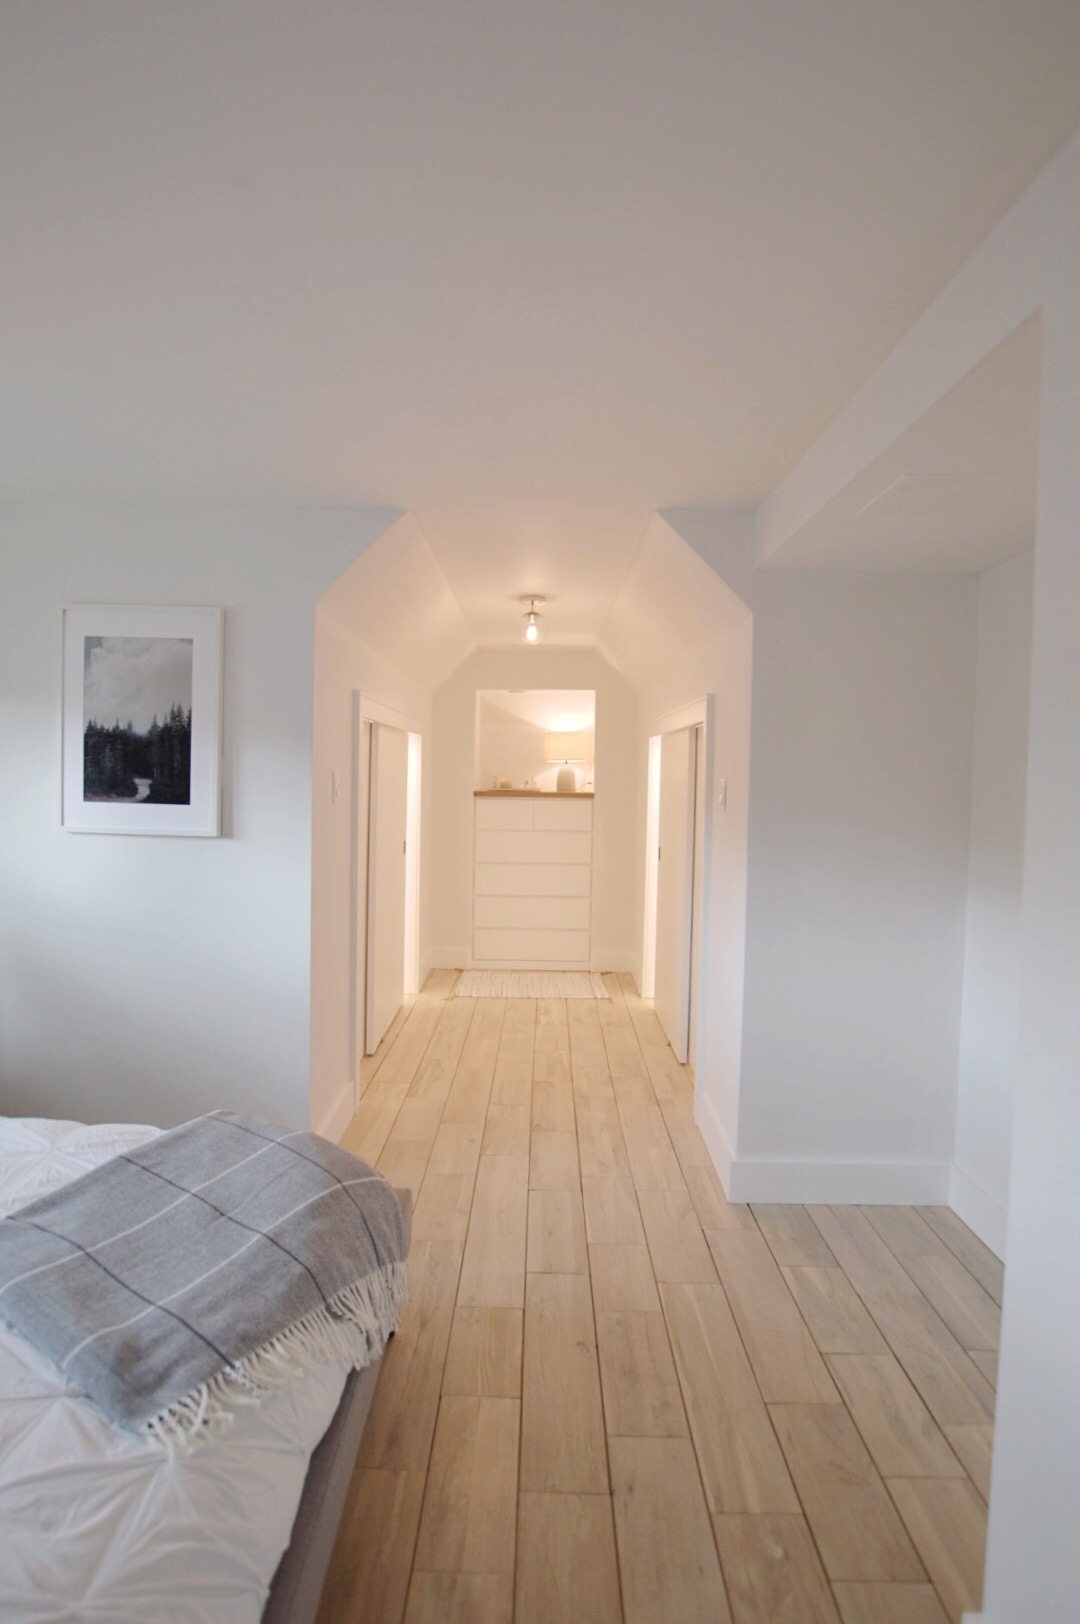
Today we are stepping upstairs at the Murray Bungalow to show you the three finished bedrooms.
To catch up on the "before" state of the bedrooms and understand the updates that we made & why, take a look back at our bedrooms plan post right here. For additional background, we cover the entire upper level plan in this post.
One important goal for the upstairs, from a design standpoint, was to ensure visual cohesion with the main level of the home. We carried the same light oak hardwood floors installed on the main level up the stairs and throughout the upper hallway, bedrooms, and closets. And we continued the same crisp white wall & trim treatment that we used downstairs, applying a fresh coat to all wall surfaces, baseboards, and window casing. Because of these consistent design choices, the visual flow between the upper and lower level of the home is truly seamless, and the house overall feels unified and polished.
At the same time, it's important to acknowledge that separate & distinct role of the upstairs space vs. the main level of the home. Where the main level is all about indoor/outdoor connectivity, entertaining, and management of the everyday hustle & bustle, the upstairs is built for privacy, rest, and retreat. Clustered around a central hall and shared bath, each bedroom features special built elements & bungalow charm: sheltering roof-lines, vintage windows, pretty trimwork, original five-panel doors + brass hardware. And each room is just right in terms of size -- big enough to easily accommodate bedroom furniture basics (with room to spare), yet warm & cozy in character.
In the photos below, we walk through each room one at a time -- you'll find a floor plan to orient you on each room's location, along with photos from key vantage points. As always, a complete source list is included at the end for your reference. Enjoy!
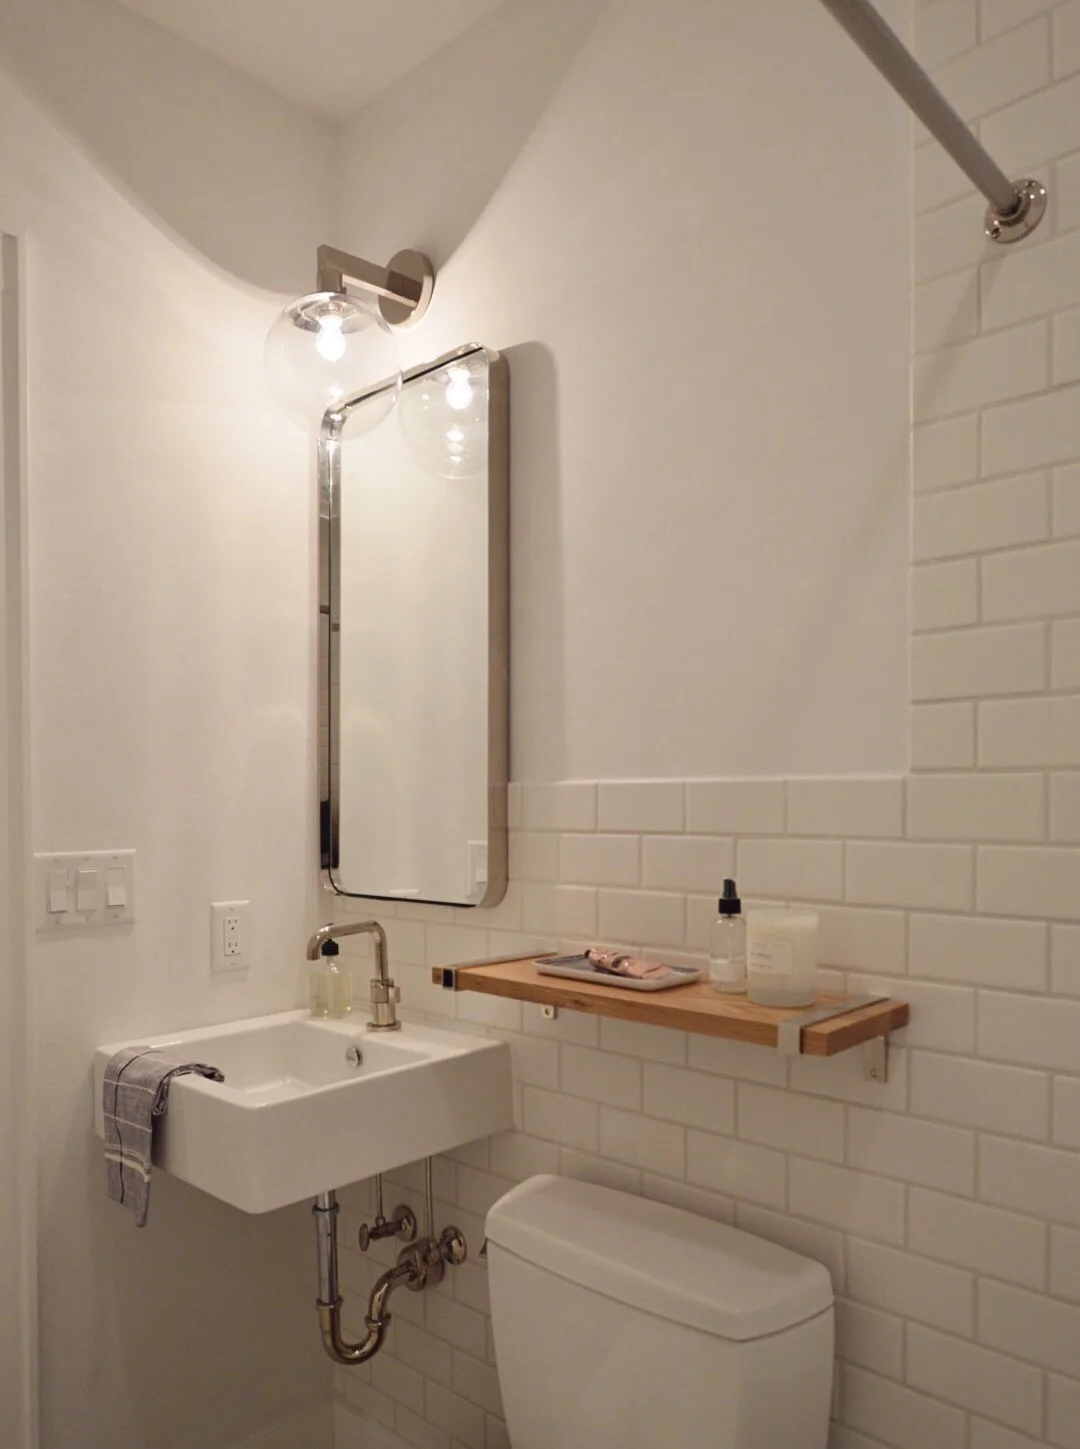
Next up in our room-by-room reveals of the Murray Bungalow -- the main level bathroom!
While the location and footprint of the main bath didn't change from its original state, pretty much everything else did. Take a look at the "before" pictures, and read all about the improvements that we made & why, right here.
From a design standpoint, our challenge was to deliver a fully-modernized, and code-compliant, full bath with a fresh, clean, airy aesthetic that melds cohesively with the rest of the home. We are so happy with the results.
See floor plan location map below, followed by photo highlight, and comprehensive source list at the end for your reference :).
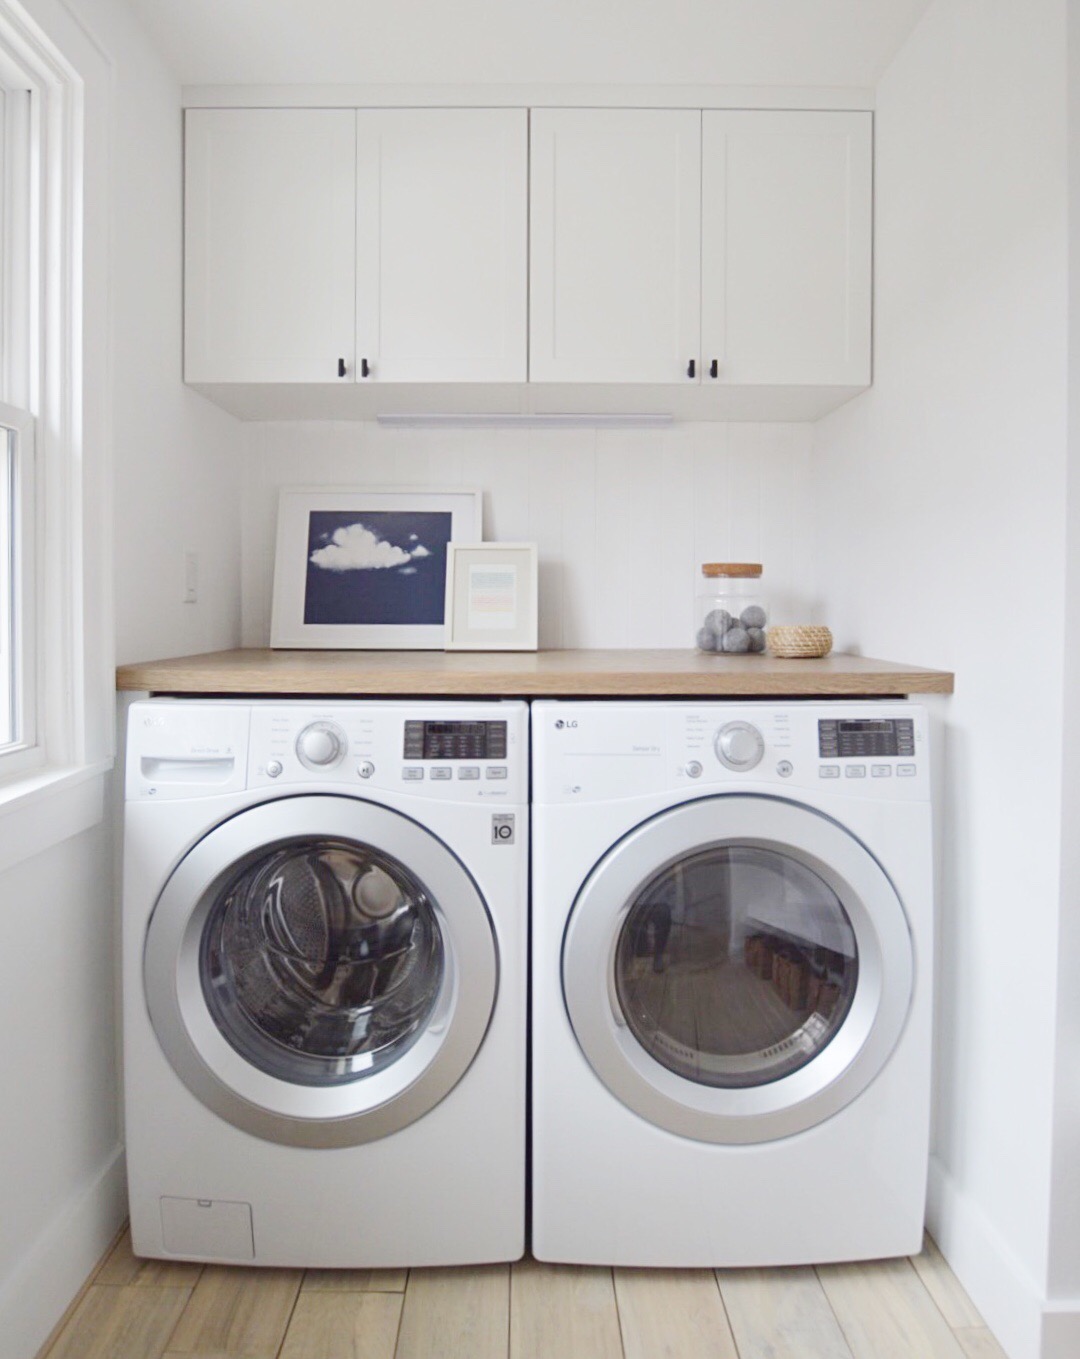
Today, we're thrilled to show off the brand new laundry + drop zone space at the Murray Bungalow!
Previously, the home's laundry units resided in an unfinished corner of the basement, directly next to the water heater and furnace, sitting atop the raw concrete foundation. With the bungalow's whole home renovation, a top goal for us was to find a way to bring the laundry function upstairs -- both to improve accessibility (saving trips up & down stairs!) and for the chance to create an elevated, organized, & beautiful space for carrying out a task that we all spend countless hours on each and every week.
Besides addressing the laundry, we also knew that the first floor of the home would benefit greatly from added storage. Originally, one closet serviced the entire main floor. We kept the single existing closet (updating it with new doors, trim, and hardware) and incorporated critical new storage space into the main level's re-worked floorplan, including a dedicated drop zone for coats/bags/shoes, and a new broom closet to house cleaning essentials. It's hard to overstate just how much these two new storage areas add to the home's livability. 100% worth it.
For background reading, take a look at the "before" photos and plans for the new laundry + drop zone right here. We walk through the entire plan for the main level (including the laundry & drop zone) in these two posts: original floor plan and proposed plan.
Now, on to the reveal! Below you'll find a location map, followed by finished photos and source information. We couldn't be happier with how this space turned out. The room is truly a pleasure to be in -- there's beautiful natural light, and a fresh, clean, happy aesthetic. The layout feels easy and efficient, with tons of built-in organization (wall cabinets, wall hooks, storage for bins, etc.). What a difference this room makes to the day-to-day functionality of the home! Sometimes it's the small improvements to a house that can be most significant. Enjoy the pics!